Making a scrunchie is a classic first sewing project. It uses a small strip of fabric and a short piece of elastic, takes less than an hour and is a great way to use up offcuts or an old shirt. This guide walks you through making one by machine or by hand, then explains how to adapt the size and replace tired elastic.
This guide is general information written in our own words. We don't recommend particular shops, brands or products, and we never quote prices. It isn't medical advice: if you're worried about your hair or scalp, see your GP or a dermatologist.
What you need
- A strip of fabric (see sizes below)
- Narrow flat elastic, about 6 to 8 mm wide
- Matching thread
- Scissors or a rotary cutter, and a ruler or tape measure
- Pins or clips
- A safety pin or bodkin to thread the elastic
- A sewing machine, or a hand-sewing needle
- An iron (optional, but helpful)
Choosing fabric
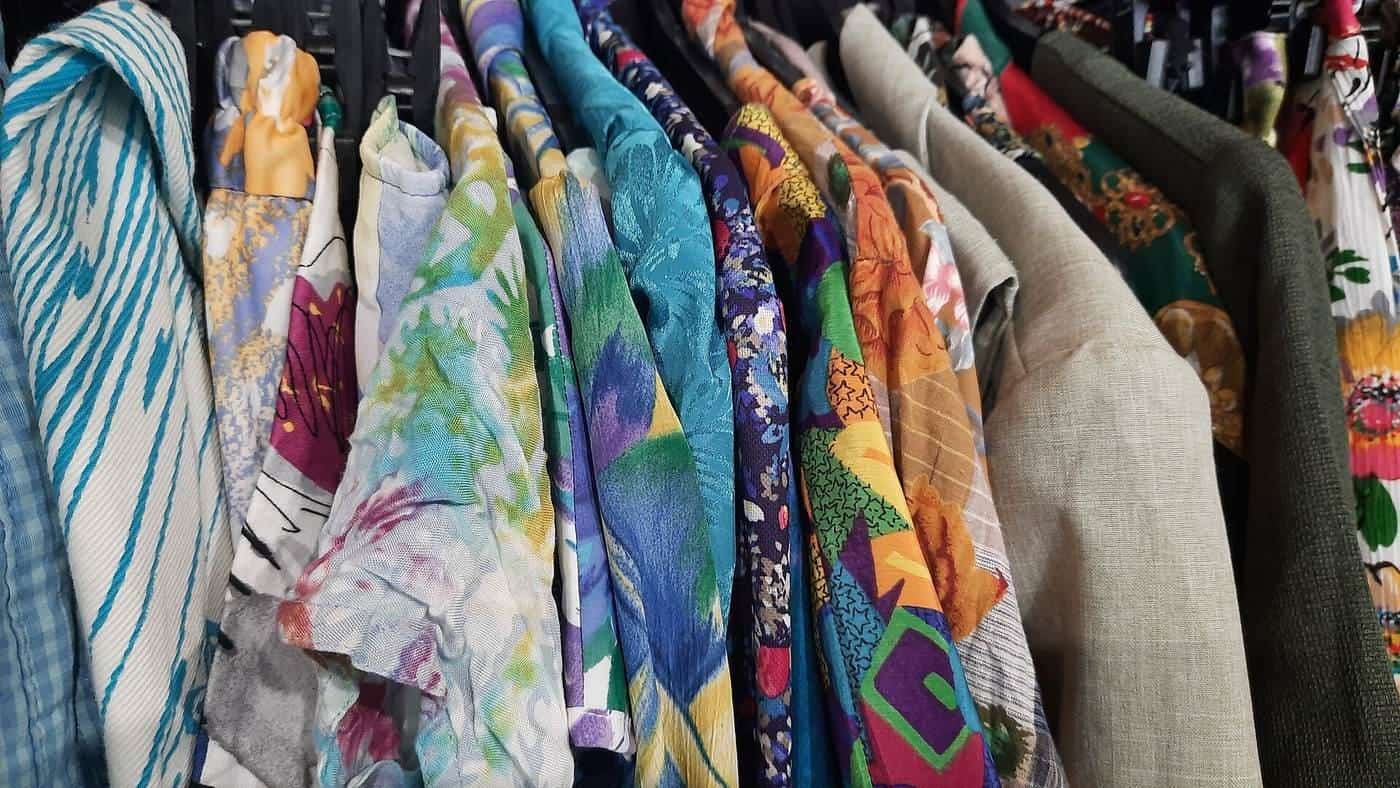
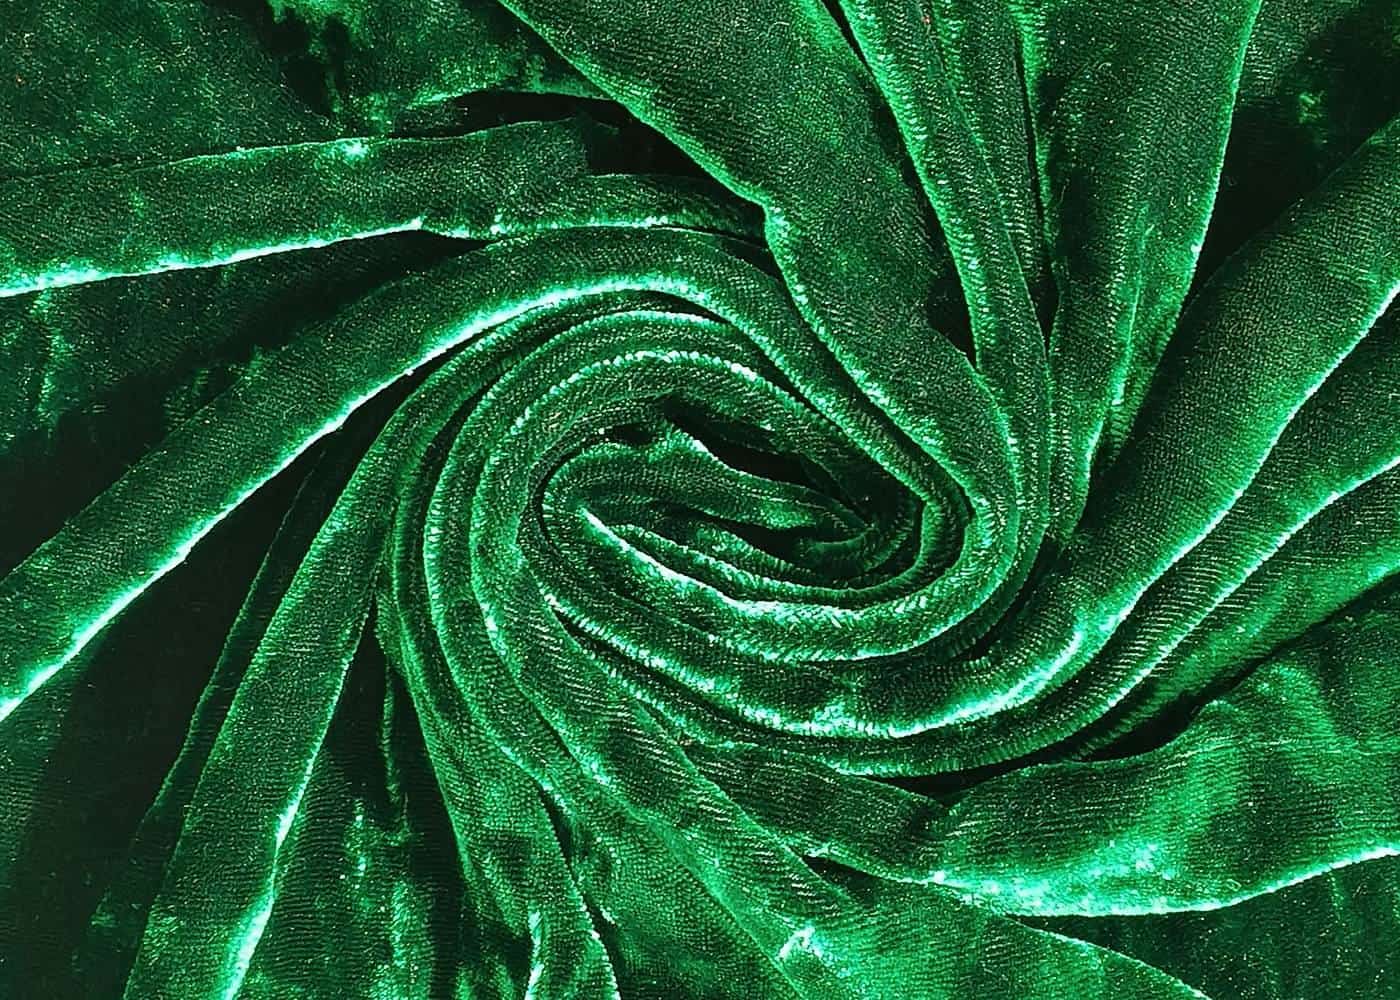
Medium-weight woven cotton is the easiest fabric for beginners: it cuts cleanly, holds a crease and doesn't slip. Once you're confident, try linen, satin, silk or velvet. Light fabrics gather more, so they can take a slightly longer strip. Heavy fabrics such as velvet bunch quickly, so a slightly shorter strip stops the scrunchie getting bulky. Pre-wash cotton and linen to avoid shrinkage later.
Starting sizes
There's no standard scrunchie size. These are common home-sewing starting points; adjust to suit your fabric and taste.
| Style | Fabric strip (length × width) | Elastic |
|---|---|---|
| Skinny | about 45 × 7 cm | about 18–20 cm |
| Classic | about 50 × 10 cm | about 18–23 cm |
| Oversized | about 70 × 16 cm | about 20–23 cm |
| Child size | about 40 × 8 cm | about 15–20 cm |
Our free scrunchie maker adjusts these sizes for fabric weight and hair type. Before cutting elastic, wrap it around your wrist: it should stretch comfortably but not feel tight.
Step-by-step by machine
- Cut your fabric. Cut one strip to size. If your fabric is too short, join two pieces end to end first.
- Fold and pin. Fold the strip in half lengthways with the right sides facing (the patterned side inside). Pin along the long edge.
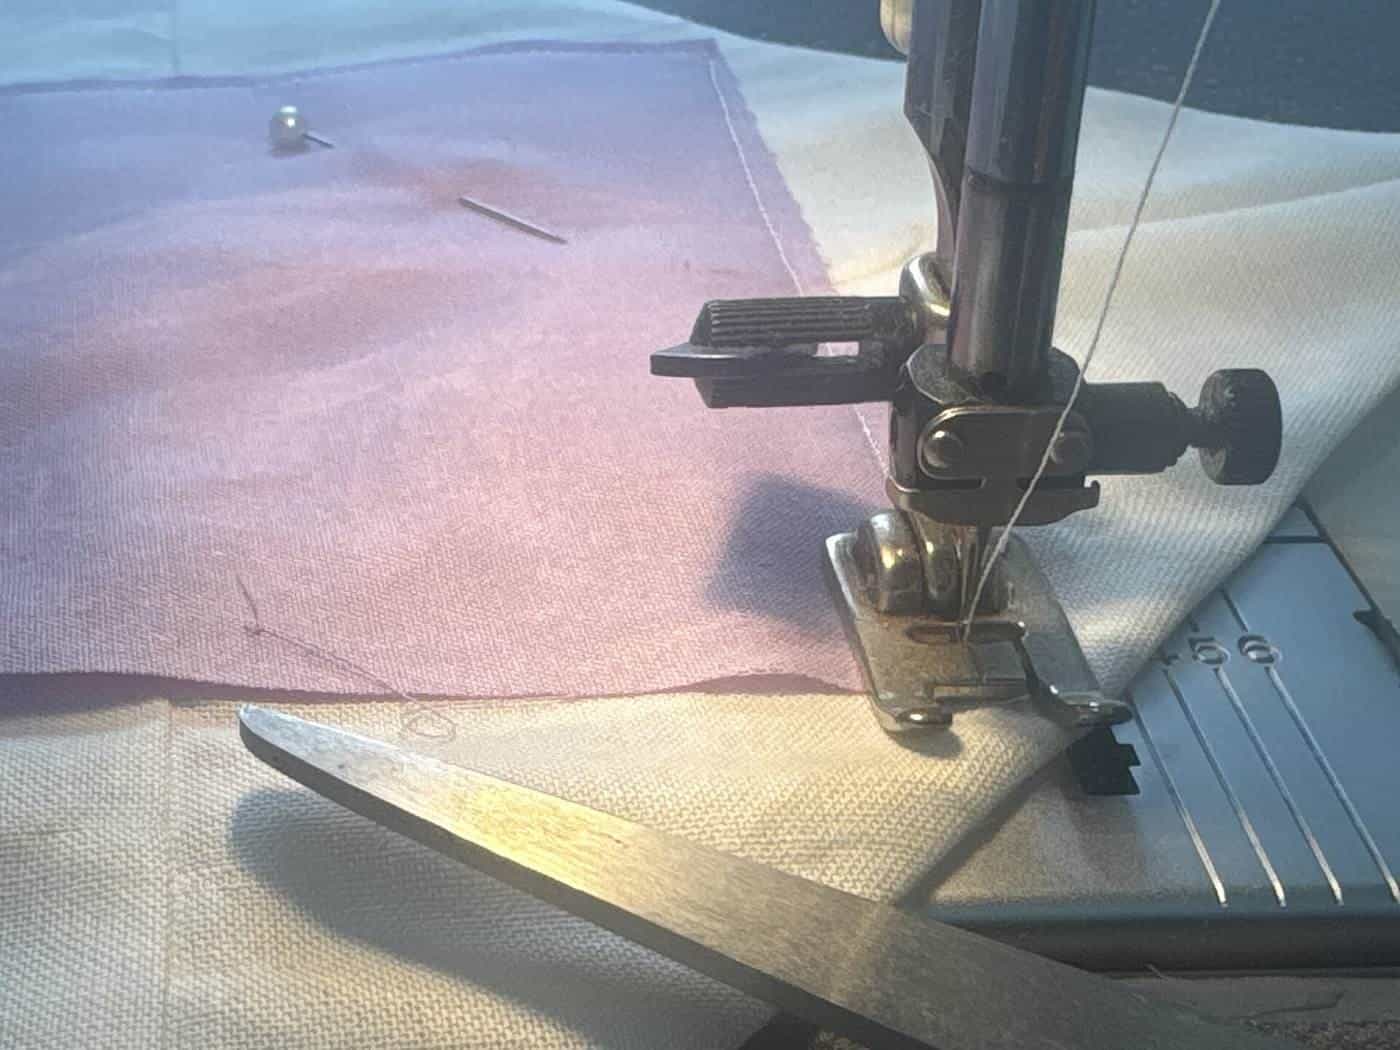
- Sew the long edge. Sew along the long raw edge with a 1 cm seam allowance, leaving about 5 cm unsewn at each end. You now have a tube with open ends.
- Turn it right side out. Use a safety pin or turning tool to pull the tube through so the pattern is on the outside.
- Thread the elastic. Attach a safety pin to one end of the elastic and feed it through the tube. Pin the trailing end of the elastic to the fabric so it doesn't disappear inside.
- Join the elastic. Overlap the elastic ends by 1 to 2 cm and stitch them securely together with a zigzag stitch or several rows of straight stitching.
- Close the tube. Tuck one raw end of the fabric about 1 cm inside the other end. Fold under the raw edge and either topstitch close to the fold or hand stitch it closed.
- Spread the gathers. Pull the scrunchie to distribute the fabric evenly around the elastic.
By hand
You can make a scrunchie entirely by hand. Sew the long edge with a small, even backstitch for strength, then follow steps 4 to 8. Close the final opening with a ladder stitch (also called a slip stitch), which makes an almost invisible seam: take small stitches alternately into the folded edges on each side, then pull the thread gently to close the gap.
No-sew options
If you don't sew, you can make a simple version with fabric glue: glue the long edge, let it dry, turn, add knotted elastic and glue the opening. Glued scrunchies are less durable than sewn ones and may not survive washing. Another option is to tie a fabric strip in a bow around a plain hair tie.
Tips for slippery or thick fabrics
- Silk and satin: use a fine, sharp needle, pins in the seam allowance and a slightly longer stitch. Tissue paper under the fabric can help it feed.
- Velvet: pin generously, sew slowly and keep the pile direction the same.
- Stretch jersey: use a ballpoint needle and a slight zigzag or stretch stitch.
Replacing the elastic
When a favourite scrunchie stretches out, you don't have to throw it away. Unpick a few centimetres of the closing seam, pull out the old elastic, cut it, attach a safety pin to new elastic, feed it through, join the ends and stitch the opening closed again.
Making scrunchies for children
If you're making scrunchies for children, sew seams securely and avoid small decorations such as beads, buttons or sequins that could come off. The ACCC warns that small parts are a choking hazard for children under three. Our kids safety guide explains more.
Selling handmade scrunchies
If you plan to sell scrunchies, research the rules first. In Australia, clothing and textile products covered by the care labelling standard need permanent care instructions, and products for young children may be covered by mandatory safety standards. Check ACCC Product Safety for current requirements.
A little history
According to NPR, the scrunchie was invented in 1986 by singer Rommy Hunt Revson, who was inspired by the waistband of her sweatpants, made prototypes on a sewing machine and later received a design patent. Making your own puts you in good company.
Common mistakes and fixes
- The scrunchie is lumpy. Spread the gathers evenly before closing, and check the elastic isn't twisted inside.
- The elastic pulled inside. Always pin the trailing end before threading.
- The scrunchie is too tight. Unpick, add a few centimetres of elastic and rejoin.
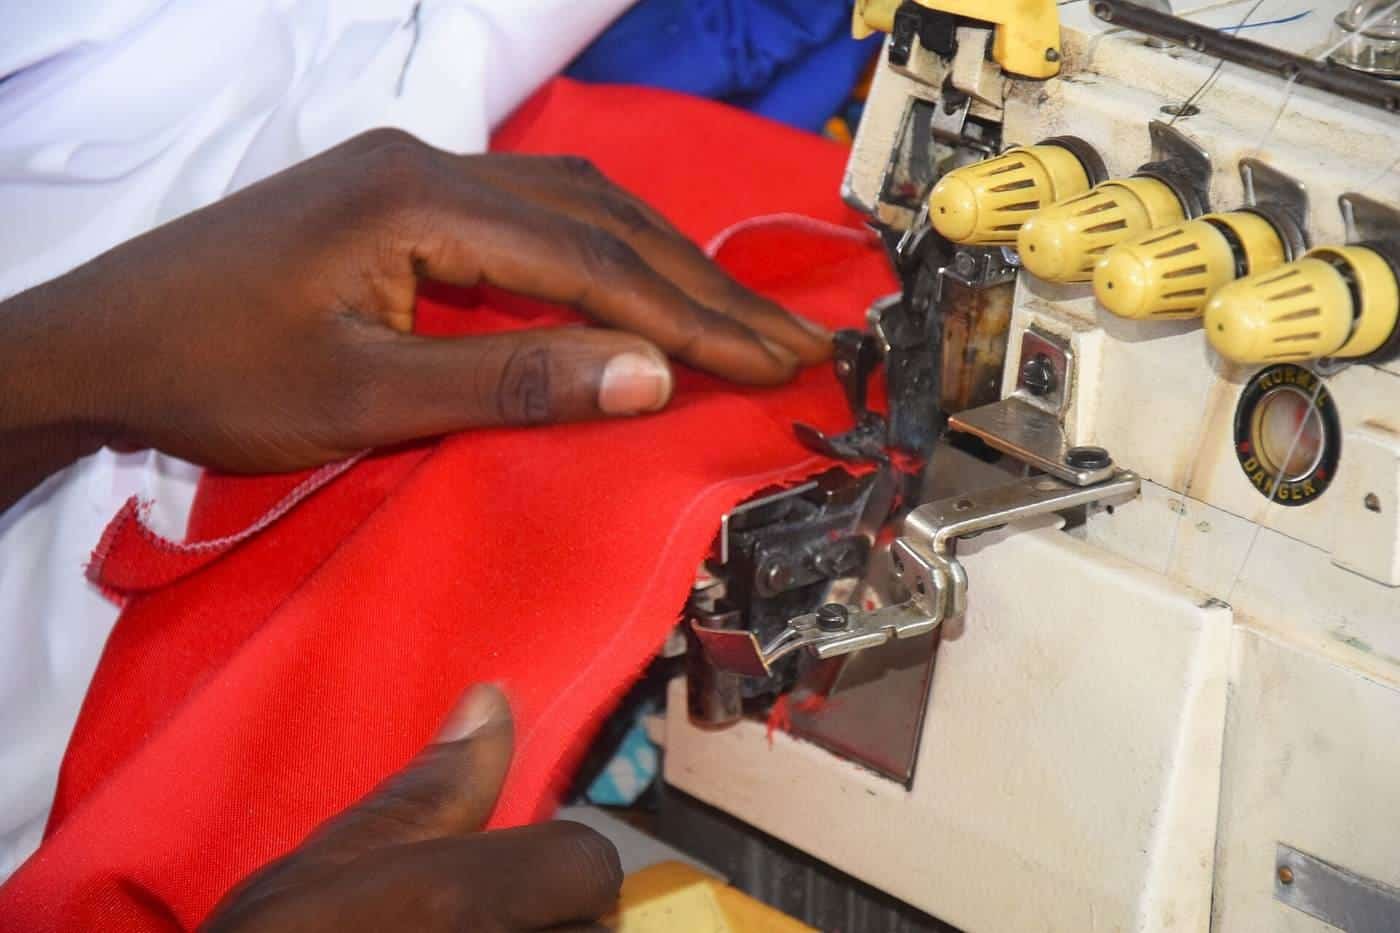
- The fabric frays inside. Use a zigzag or overlocking stitch on the seam allowance, or choose a less fray-prone fabric.
Use the scrunchie maker
Our free scrunchie maker suggests a starting fabric cut size and elastic length for skinny, classic, oversized and child-sized scrunchies, adjusted for light, medium or heavy fabric and for fine, medium or thick hair. It's a home-sewing starting point rather than a standard, so feel free to adjust. It runs entirely in your browser, and nothing you choose is sent anywhere.
Where our information comes from
Health statements in our guides are based on expert sources, including DermNet, the American Academy of Dermatology and the British Association of Dermatologists. Safety and care labelling information comes from ACCC Product Safety and the Federal Register of Legislation, and consumer rights information from the ACCC and Scamwatch. We link to each source at the end of the page, rewrite everything in our own words and show the date each guide was last checked.
A gentle scrunchie habit in one sentence
Choose a scrunchie that suits your hair, wear it loosely, move it around, give your hair days off, keep it clean and replace the elastic when it's tired. Almost everything else in this guide supports those simple habits.
Questions to ask before you buy
Before buying a scrunchie, ask yourself: what will I use it for, does the fabric suit my hair, is the elastic strong enough to hold without winding tight, are the seams neat, and can I wash it the way I like? Check product descriptions for fibre content and care instructions. Clear descriptions are a good sign of a seller who knows what they're selling.
Key points
- A scrunchie needs a fabric strip, narrow elastic, thread and an hour.
- Medium-weight cotton is the easiest fabric for beginners.
- Join elastic with a 1 to 2 cm overlap and close the tube with topstitching or a ladder stitch.
- Replace tired elastic instead of throwing a scrunchie away.
Frequently asked questions
How much fabric do I need for a scrunchie?
A classic scrunchie often starts with a strip around 50 cm long and 10 cm wide. Our scrunchie maker suggests sizes for other styles.
What elastic should I use?
Narrow flat elastic around 6 to 8 mm wide is a common choice. Cut it to fit your wrist and hair.
Can I make a scrunchie without a sewing machine?
Yes. Hand sewing with a simple running or ladder stitch works well.
What fabric is easiest for beginners?
Medium-weight woven cotton, such as quilting cotton, is easy to cut, press and sew.
Sources and further reading
Facts on this page were checked against these primary and official sources. Conditions change — confirm before you travel or buy.